But these unique types of crypto assets they exist since 2012 and emerged with the name of “colored coins” of Bitcoin. These were simply marked or “colored” satoshis with distinctive information linking them to real-world assets. However, the “Colored Coins” were used to create and trade works of art. The world of NFTs began to develop slowly and reached the point of exploding and being on everyone’s lips last year.
NFT 1.jpg
Non-fungible tokens can be anything that people own within the digital space: a tweet, a work of art or even a music album. This is why the development of this phenomenon has no limits in its creativity. The more creative, the more in-demand these assets will be from interested users.
With the help of technology blockchain, artists from anywhere in the world can reach art collectors and sell their work safely. In a context where information about cryptocurrencies is obtained with a single click, anyone can create and learn to sell an NFT.
NFT 2.jpg

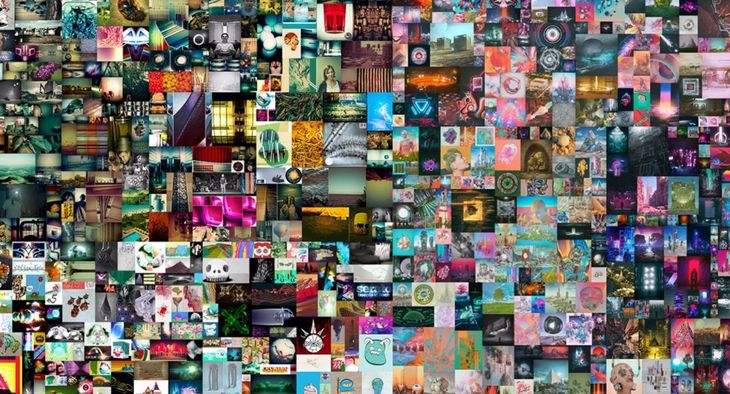
“Everydays: the first 5000 days” is a JPG image created by American digital artist Mike Winkelmann and sold for $69 million.
How to create and sell an NFT
Step 1
The first step to enter the creative and digital world of cryptocurrencies is create an account on Opensea, a popular platform founded in 2017 by Devin Finzer and Alex Atallah. This market dedicated to the trading of NFTs stands out for its accessibility, unlike the Ethereum blockchain, which is questioned for its high service or “gas” fees, that is, the cost of carrying out operations on the network.
Step 2
The second action focuses on linking the Opensea account to a wallet or virtual wallet. In this case, the chosen platform works with several of the most important: Metamask, Coinbase, Bitski and Dapper, for example.
Step 3
Once the wallet is linked, Opensea will require a password and a digital signature in order to have the necessary conditions to start creating an NFT.
Step 4
The process is as simple as sending an attachment in an email or uploading a photo to Instagram: you should look for the option “Create Collection” (Create a Collection) and a page will open to build the collection of NFTs, and you can immediately upload the file you want to convert to NFT. What can be an NFT? Any digital file, as long as it is your creation and you own the rights. What you upload will be your own responsibility.
step 5
When the file is already uploaded on the network, you must complete a form and take into account some tools to identify your non-fungible token in detail:
- External Link: a link that is attached to your NFT, which allows access to your works and creations.
- Properties: where you customize your token.
- Levels and Stats: It serves to further personalize your digital asset.
The most important part of this form is the blockchainbecause that is where an NFT can be registered in a certain chain of blocks. For example, if you choose Ethereum, to publish your NFT for sale you will have to pay a fee that is determined according to the network.
Source: Ambito
David William is a talented author who has made a name for himself in the world of writing. He is a professional author who writes on a wide range of topics, from general interest to opinion news. David is currently working as a writer at 24 hours worlds where he brings his unique perspective and in-depth research to his articles, making them both informative and engaging.


