I am an author and journalist who has worked in the entertainment industry for over a decade. I currently work as a news editor at a major news website, and my focus is on covering the latest trends in entertainment. I also write occasional pieces for other outlets, and have authored two books about the entertainment industry.
Menu
Baby boomer fingernails: This is what you need for the look
Categories
Most Read
Natalia Oreiro returns to Netflix with a film based on real events: When is it released?
October 21, 2025
No Comments
Injury in “Celebrity Padel World Cup” training: Lena Gercke is plagued by “extreme pain”
October 21, 2025
No Comments
Sean “Diddy” Combs: Appealed his conviction
October 21, 2025
No Comments
Five years in prison: Nicolas Sarkozy arrived in prison
October 21, 2025
No Comments
King Charles III: He visits synagogue in Manchester
October 21, 2025
No Comments
Latest Posts

Debt exchange for education: an alternative for Argentina?
October 21, 2025
No Comments
The Argentine macroeconomy always suffers in the run-up to elections. Far from being an anomaly, it is something predictable. In this context, the government of

Javier Milei and JP Morgan launch a Brady Plan with multilateral funds
October 21, 2025
No Comments
Quietly, the Government took a step towards financial stabilization this Monday by formally announcing the appointment of JP Morgan Chase as structuring bank of a

the discovery that could change the economy
October 21, 2025
No Comments
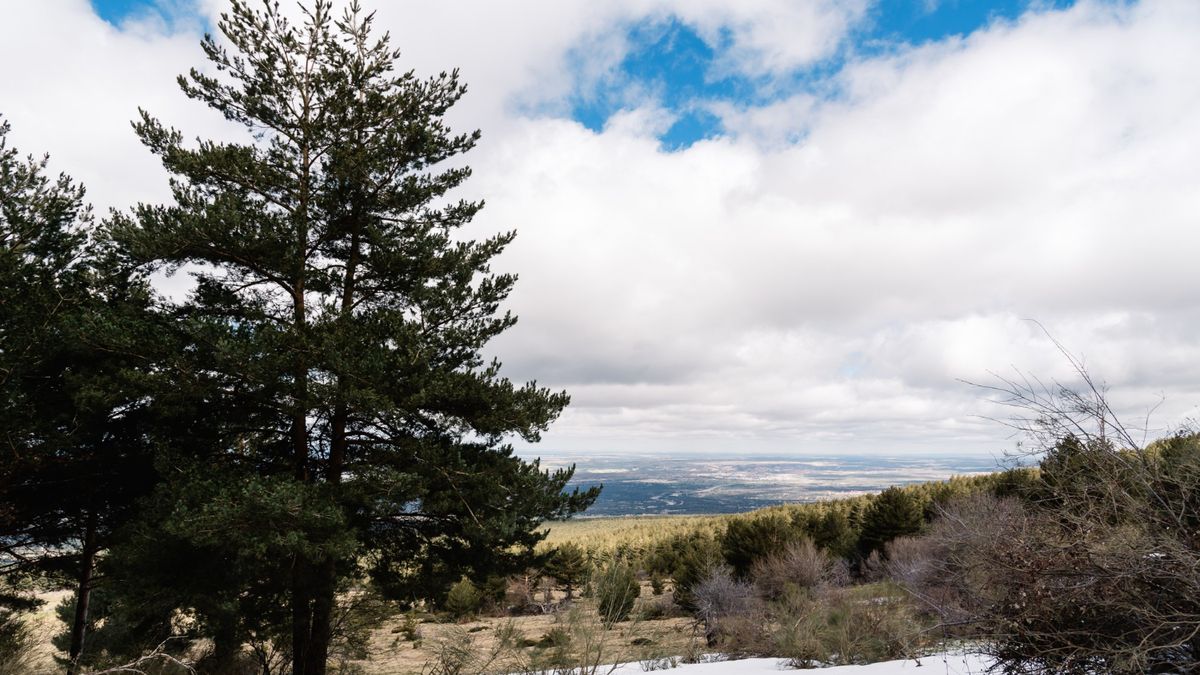
October 21, 2025 – 10:42 Finnish scientists discovered trees that accumulate gold in their leaves thanks to soil bacteria. freepik Nature revealed a secret hidden
24 Hours Worlds is a comprehensive source of instant world current affairs, offering up-to-the-minute coverage of breaking news and events from around the globe. With a team of experienced journalists and experts on hand 24/7.

